前言 ubuntu 24.04 LTS 喚醒 2005 年,我接觸到 ubuntu 8.04 時的感動。
系統設定與 App 安裝 很快地,我就把 ubuntu 24.04 LTS 安裝到 HP ProDesk 600 上面,同時,我在系統上做了一些設定(大致如下)。
更新系統
安裝中文輸入法框架 Fcitx5(含新酷音與嘸蝦米輸入法)
安裝 Google Chrome
安裝 zsh 與 zplug
安裝 Flatpak
安裝 Bottles
安裝 auto-cpufreq
安裝 Caprine
啟用 ubuntu Pro
安裝 gufw
更新系統
安裝中文輸入法框架 Fcitx5(含新酷音與嘸蝦米輸入法) 參考:ubuntu 24.04 LTS 與嘸蝦米
1 sudo apt install fcitx5-table-extra
安裝 Google Chrome 參考:將 Google Chrome 安裝到 ubuntu 24.04 LTS
1 2 3 4 5 wget -q -O - https://dl-ssl.google.com/linux/linux_signing_key.pub > linux_signing_key.pub sudo install -D -o root -g root -m 644 linux_signing_key.pub /etc/apt/keyrings/linux_signing_key.pub sudo sh -c 'echo "deb [arch=amd64 signed-by=/etc/apt/keyrings/linux_signing_key.pub] http://dl.google.com/linux/chrome/deb/ stable main" > /etc/apt/sources.list.d/google-chrome.list' sudo apt update sudo apt install google-chrome-stable
安裝 zsh 與 zplug 參考:zplug
1 2 3 sudo apt install zsh zplug fzy fzf chsh -s /usr/bin/zsh <使用者名稱> vi .zshrc
將下列資料寫入 .zshrc
,再執行 sudo reboot
。
1 2 3 4 5 6 7 8 9 10 11 12 13 14 15 16 17 18 19 20 21 22 23 24 25 26 27 28 29 30 31 32 33 34 35 36 37 38 # History config HISTSIZE=10000 SAVEHIST=10000 HISTFILE=~/.zsh_history zplug "romkatv/powerlevel10k", as:theme, depth:1 zplug "zsh-users/zsh-history-substring-search" zplug "Jxck/dotfiles", as:command, use:"bin/{histuniq,color}" zplug "tcnksm/docker-alias", use:zshrc zplug "k4rthik/git-cal", as:command, frozen:1 zplug "plugins/git", from:oh-my-zsh zplug --rollback=build zplug "b4b4r07/enhancd", at:v1 zplug "mollifier/anyframe", at:4c23cb60 zplug "zsh-users/zsh-syntax-highlighting", defer:2 zplug "b4b4r07/79ee61f7c140c63d2786", \ from:gist, \ as:command, \ use:get_last_pane_path.sh zplug "b4b4r07/hello_bitbucket", \ from:bitbucket, \ as:command, \ use:"*.sh" zplug "b4b4r07/httpstat", \ as:command, \ use:'(*).sh', \ rename-to:'$1' # Install plugins if there are plugins that have not been installed if ! zplug check --verbose; then printf "Install? [y/N]: " if read -q; then echo; zplug install fi fi # Then, source plugins and add commands to $PATH zplug load --verbose
安裝 Flatpak 參考:Flatpak—the future of application distribution
1 2 3 sudo apt install flatpak sudo apt install gnome-software-plugin-flatpak flatpak remote-add --user --if-not-exists flathub https://flathub.org/repo/flathub.flatpakrepo
安裝 Bottles 參考:Easily run Windows software on Linux with Bottles! ⋅ Bottles
1 2 flatpak install flathub com.usebottles.bottles flatpak override com.usebottles.bottles --user --filesystem=xdg-data/applications
安裝 auto-cpufreq 參考:[Linux Apps] auto-cpufreq
1 2 git clone https://github.com/AdnanHodzic/auto-cpufreq.git cd auto-cpufreq && sudo ./auto-cpufreq-installer
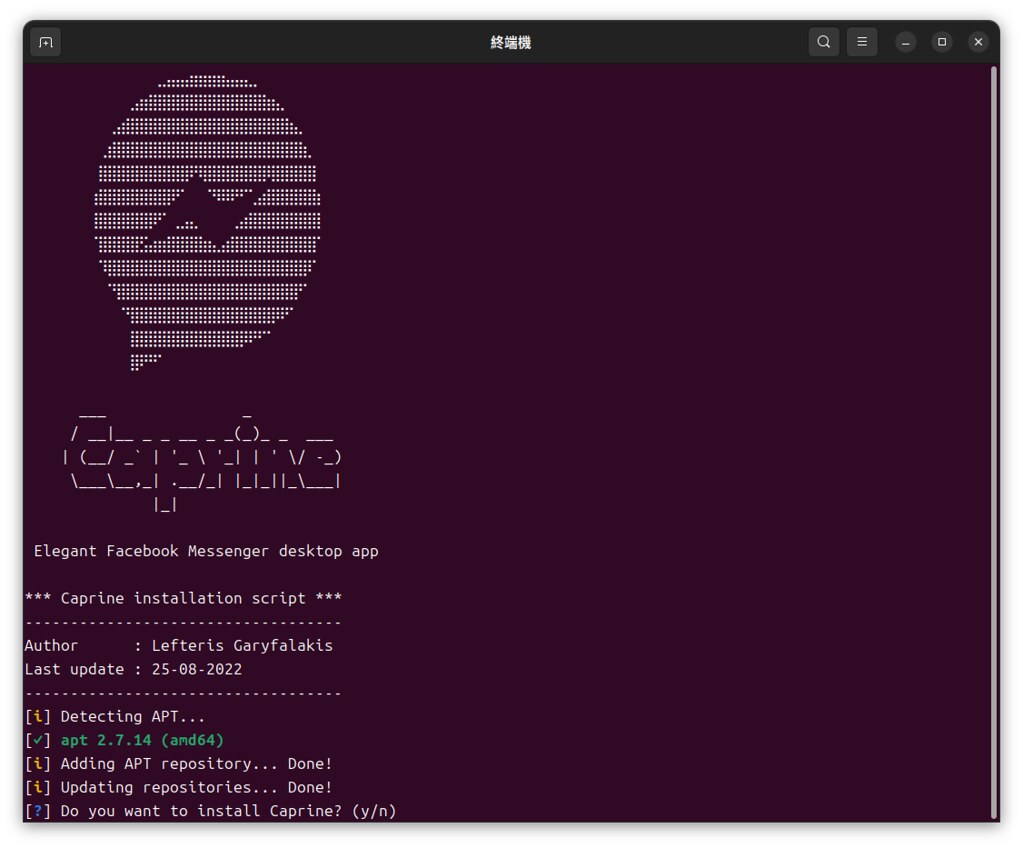
安裝 Caprine 參考:sindresorhus/caprine: Elegant Facebook Messenger desktop app
1 wget -q -O- https://raw.githubusercontent.com/sindresorhus/caprine/main/packages/deb/addRepo.sh | sudo bash
啟用 ubuntu Pro
我沒有在安裝完新系統的首次登入時啟用 ubuntu Pro,所以,只得跑一趟 Ubuntu Pro Dashboard | Ubuntu ,登入帳號後取得 Free Personal Token
。
接著,在 Terminal 下一道指令。
1 sudo pro attach <Token 碼>
安裝 gufw
後記
…坦白說,要不是當年留下一篇貼文:ubuntu 8.04 與嘸蝦米 ,我還真的說不出自己是被「何年何月以及那一個版本」的 ubuntu 給驚豔到。
原則上,沒有什麼問題的話,我會接著安裝 VSCode。