
安裝 Arch Linux 與嘸蝦米
前言
如果,能讓我再一次從頭開始學 Linux,我可能會選 Arch Linux。 
這篇貼文大致分成 2 個部分的筆記:「安裝 Arch Linux」、「在 Arch Linux 上安裝及使用嘸蝦米」。
安裝 Arch Linux
- VirtualBox 上的硬體設定:1 CPU、ICH9 晶片組、啟用 EFI、4GB Ram、128MB VRAM、20GB Vdi HDD。
下面是我下的指令:
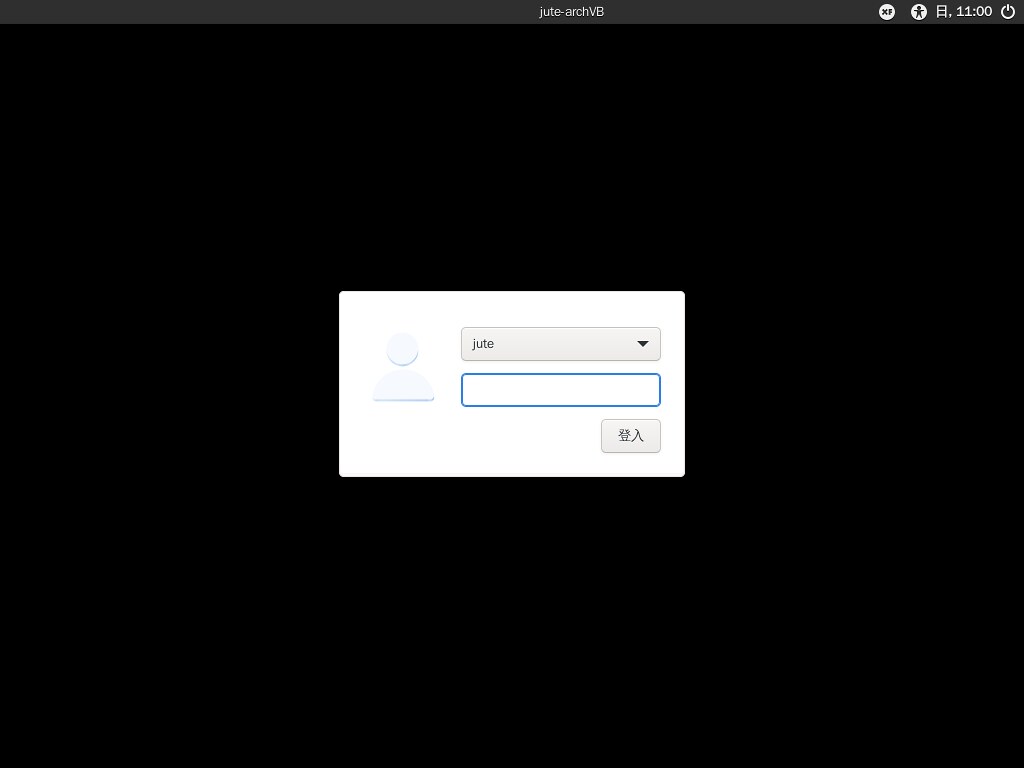
 lsblk
 gdisk /dev/sda
 n
 Partition number: [Enter]
 First sector: [Enter]
 Last sector: +200MB
 Hex code or GUID: ef00
 n
 Partition number: [Enter]
 First sector: [Enter]
 Last sector: [Enter]
 Hex code or GUID: [Enter]
 w
 Do you want to proceed? Y
 lsblk
 mkfs.fat -F32 /dev/sda1
 mkfs.ext4 /dev/sda2
 lsblk
 mount /dev/sda2 /mnt
 mkdir -p /mnt/boot
 mount /dev/sda1 /mnt/boot
 lsblk
 pacstrap /mnt base linux linux-firmware vim
 genfstab -U /mnt >> /mnt/etc/fstab
 cat /mnt/etc/fstab
 arch-chroot /mnt
 dd if=/dev/zero of=/swapfile bs=1G count=2 status=progress
 chmod 600 /swapfile
 mkswap /swapfile
 swapon /swapfile
 vim /etc/fstab
 i
 寫入 /swapfile none swap defaults 0 0
 [Esc]
 :wq
 timedatectl set-ntp true
 timedatectl list-timezones | grep Taipei
 ln -sf /usr/share/zoneinfo/Asia/Taipei /etc/localtime
 hwclock --systohc
 vim /etc/locale.gen
 i
 找到「en_US.UTF-8 UTF-8」這一列,把最前面的「#」號刪除
 [Esc]
 :wq
 locale-gen
 echo LANG=en_US.UTF-8 >> /etc/locale.conf
 echo KEYMAP=zh >> /etc/vconsole.conf
 vim /etc/hostname
 i
 寫入 archlinux-virtualbox (hostname 可以在命名規範內,取一個自己喜歡的名字)
 [Esc]
 :wq
 vim /etc/hosts
 i
 寫入以下訊息
 127.0.0.1   localhost
 ::1         localhost
 127.0.1.1   archlinux-virtualbox.localdomain archlinux-virtualbox
 [Esc]
 :wq
 passwd
 New password: 輸入密碼
 Retype new password: 再輸入密碼(密碼同上)
 pacman -S grub efibootmgr networkmanager network-manager-applet dialog os-prober mtools dosfstools base-devel linux-headers cups reflector openssh git xdg-utils xdg-user-dirs virtualbox-guest-utils
 Enter a selection (default=all): [Enter]
 :: Proceed with installation? [Y/n] [Enter]
 grub-install --target=x86_64-efi --efi-directory=boot --bootloader-id=GRUB
 grub-mkconfig -o /boot/grub/grub.cfg
 systemctl enable NetworkManager
 systemctl enable cups
 useradd -mG wheel <username>[<username> 要輸入自己想要設定的使用者名稱]
 passwd <username>[<username> 就是上面所輸入的使用者名稱]
 New password: 輸入密碼
 Retype new password: 再輸入密碼(密碼同上)
 EDITOR=vim visudo
 i
 找到「%wheel ALL=(ALL) NOPASSWD: ALL」這一列,把最前面的「#」號刪除
 [Esc]
 :wq
 exit
 umount -a
 reboot
 重開機進入 GRUB 選單,確認選到預設值:「*Arch Linux」後,直接按 [Enter]
 archlinux-virtualbox login: 輸入之前設定的使用者名稱後按 [Enter]
 Password: 輸密碼入後 [Enter]
 ip a
 ping jute.im
 sudo pacman -S xf86-video-vmware xorg lightdm lightdm-gtk-greeter xfce4 xfce4-goodies firefox materia-gtk-theme papirus-icon-theme
 Enter a selection: [Enter]
 Enter a selection: [Enter]
 Enter a selection: [Enter]
 Enter a number: [Enter]
 :: Proceed with installation? [Y/n] [Enter]
 sudo systemctl enable lightdm
 reboot
順利的話,應該就可以看到下面的畫面。
處理繁體中文化 (Localization):重開機進入系統後,啟動 Terminal (按 Ctrl+Alt+T)
 sudo vim /etc/locale.conf
 i
 把「en_US.UTF-8」改成「zh_TW.UTF-8」
 [Esc]
 :wq
 sudo pacman -S wqy-bitmapfont wqy-zenhei ttf-arphic-ukai ttf-arphic-uming opendesktop-fonts wqy-microhei wqy-microhei-lite
 :: Proceed with installation? [Y/n] [Enter]
 sudo vim /etc/locale.gen
 i
 找到「en_US.UTF-8 UTF-8」這一列,在最前面把「#」號加回去
 找到「zh_TW.UTF-8 UTF-8」這一列,把最前面的「#」號刪除
 [Esc]
 :wq
 sudo locale-gen
 reboot
在 Arch Linux 上安裝及使用嘸蝦米
- 這次我只安裝 Fcitx 5。
重開機進入系統後,啟動 Terminal (Ctrl+Alt+T):
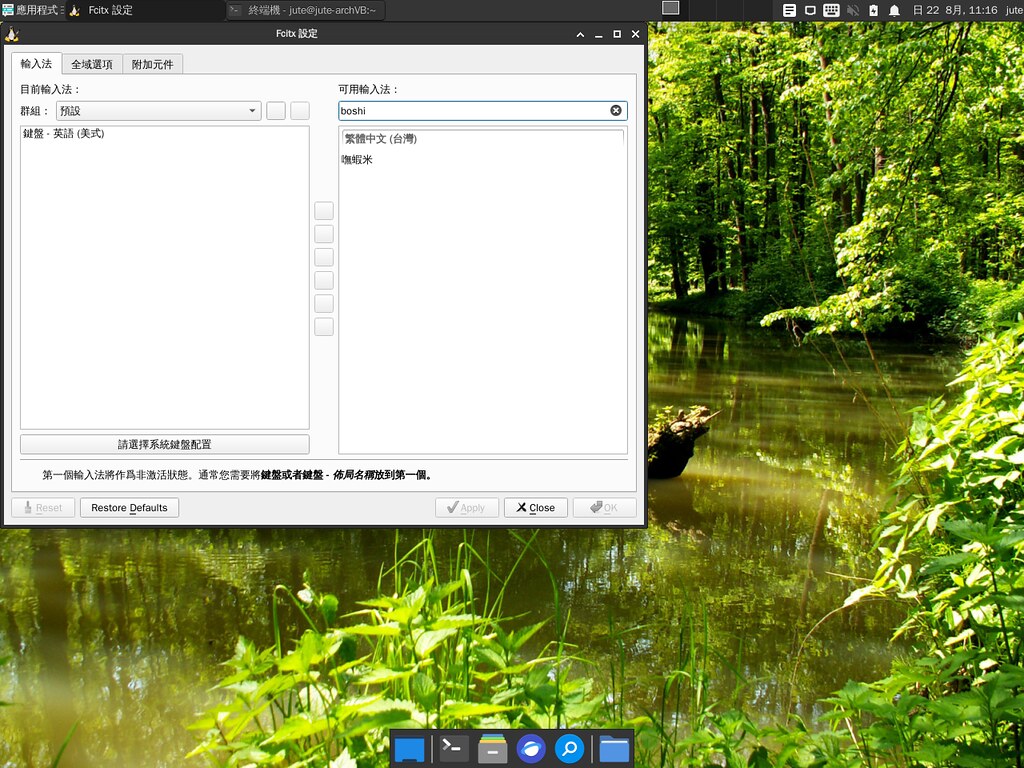
 sudo pacman -S fcitx5 fcitx5-im fcitx5-chinese-addons fcitx5-configtool fcitx5-table-extra
 Enter a selection: [Enter]
 :: Proceed with installation? [Y/n] [Enter]
 sudo vim /etc/environment
 i
 GTK_IM_MODULE=fcitx
 QT_IM_MODULE=fcitx
 XMODIFIERS=@im=fcitx
 [Esc]
 :wq
 reboot
「應用程式」→「設定值」→「Fcitx 5 設定」,進入下列畫面,由於還沒有中文輸入,所以我打關鍵字:「boshi」,把嘸蝦米找出來與加入。
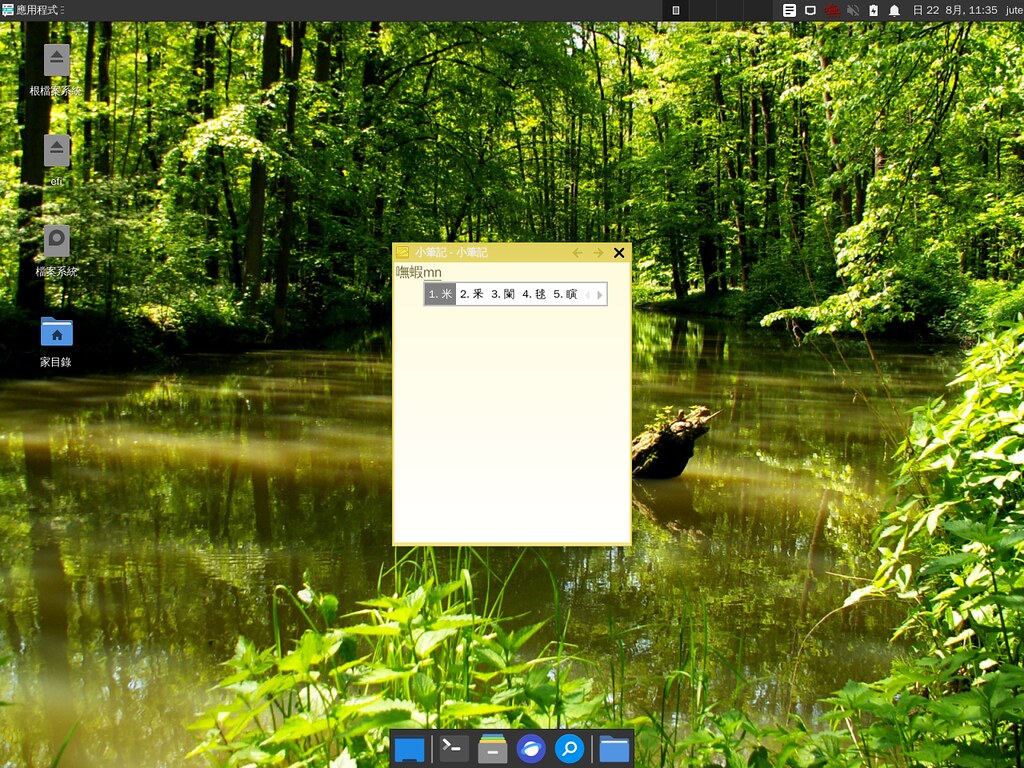
- 這次沒有安裝 LibreOffice,找個「小筆記」來試試,確認可以輸入沒有問題。
後記
- 本次安裝使用的 ISO 檔版本是 archlinux-2021.08.01-x86_64.iso。
- 儘管,我老早就知道 Arch Linux,但,這是我第一次安裝 Arch Linux,遲遲沒有安裝是因為我想用桌面環境,只想在幾個步驟,就讓安裝程式把所有的東西都安裝好,但是,隨著近日嘗試過幾支 Distro 之後,我反而對於太自動就安裝好的,不一定都能夠接受。只能說,自動有自動的好處,手動也有手動的優勢,而 Arch Linux 就是一個幾乎都要手動的 Linux,…就我所知,應該僅次於 Gentoo Linux 吧!
- 以一個新手而言,如果想要對 Linux 建立起較紮實的觀念,從 Arch Linux 真的可以學到很多。