Manjaro XFCE 21.2.2 with iBus 與嘸蝦米
前言
iBus 輸入平台上,有行易有限公司釋出的官方嘸蝦米表格檔,原則上,我個人也比較推薦使用官方釋出的版本。
今天,就把我自己從 fcitx 轉到 iBus 的部分,做一個小小的紀錄。
從 fcitx 轉換到 iBus
- 移除 fcitx,安裝 iBus。
1 | sudo pacman -R fcitx5 fcitx5-im fcitx5-chinese-addons fcitx5-configtool fcitx5-table-extra libime |
- 寫入以下內容
1 | GTK_IM_MODULE=ibus |
至行易有限公司下載官方表格檔:
boshiamy-ibus-1-8-x.tar.gz。將官方表格檔解壓縮。
1 | cd 下載/ //沒有中文輸入法,可以善用 ls 指令或是 Tab 鍵,再用「複製貼上」。 |
- 寫入一個讓 iBus 隨著開機啟動的 Script。
1 | sudo vim /etc/profile.d/ibusStart.sh |
- 重新開機
1 | sudo reboot |
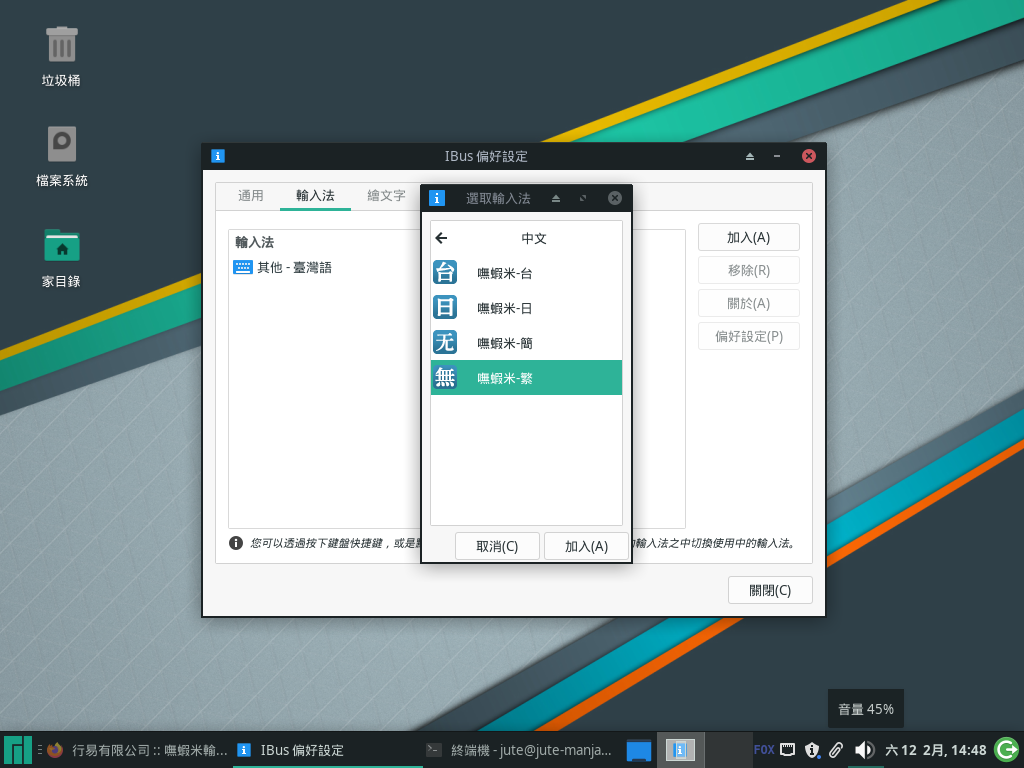
- 重開機後,輸入法平台就變成 iBus,再做一些設定,就可以用官方的輸入法表格檔。
(下圖)進入 iBus 設定介面,有 2 種方式,一個是直接點右下角的「FOX」或「小鍵盤」圖示,一個是在 Terminal 裡下 ibus-setup 指令。
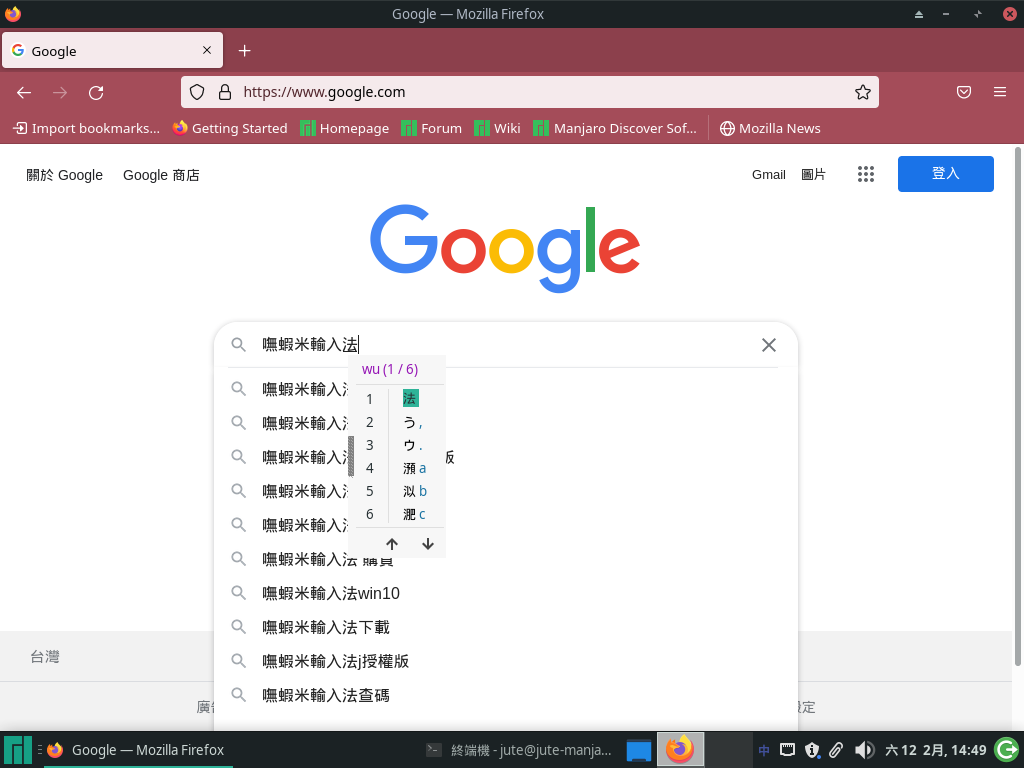
(下圖)找個地方,小試一下 iBus 上的嘸蝦米。