前言
今天,我決定在 macOS 與 Linux 上都安裝與設定 zplug,並且以本篇貼文留下紀錄。
在 macOS Monterey 12.7.4 的安裝過程
安裝 zplug、fzy 與 fzf。(我是透過 Homebrew 安裝)
1
brew install zplug fzy fzf
執行
vim .zshrc,並寫入以下內容。1
2
3
4
5
6
7
8
9
10
11
12
13
14
15
16
17
18
19
20
21
22
23
24
25
26
27
28
29
30
31
32
33
34
35
36
37
38
39
40
41
42
43export ZPLUG_HOME=/usr/local/opt/zplug
source ~/.zplug/init.zsh
# History config
HISTSIZE=10000
SAVEHIST=10000
HISTFILE=~/.zsh_history
zplug "romkatv/powerlevel10k", as:theme, depth:1
zplug "zsh-users/zsh-history-substring-search"
zplug "Jxck/dotfiles", as:command, use:"bin/{histuniq,color}"
zplug "tcnksm/docker-alias", use:zshrc
zplug "k4rthik/git-cal", as:command, frozen:1
zplug "plugins/git", from:oh-my-zsh
zplug "modules/prompt", from:prezto
zplug --rollback=build
zplug "b4b4r07/enhancd", at:v1
zplug "mollifier/anyframe", at:4c23cb60
zplug "zsh-users/zsh-syntax-highlighting", defer:2
zplug "b4b4r07/79ee61f7c140c63d2786", \
from:gist, \
as:command, \
use:get_last_pane_path.sh
zplug "b4b4r07/hello_bitbucket", \
from:bitbucket, \
as:command, \
use:"*.sh"
zplug "b4b4r07/httpstat", \
as:command, \
use:'(*).sh', \
rename-to:'$1'
# Install plugins if there are plugins that have not been installed
if ! zplug check --verbose; then
printf "Install? [y/N]: "
if read -q; then
echo; zplug install
fi
fi
# Then, source plugins and add commands to $PATH
zplug load --verbose執行
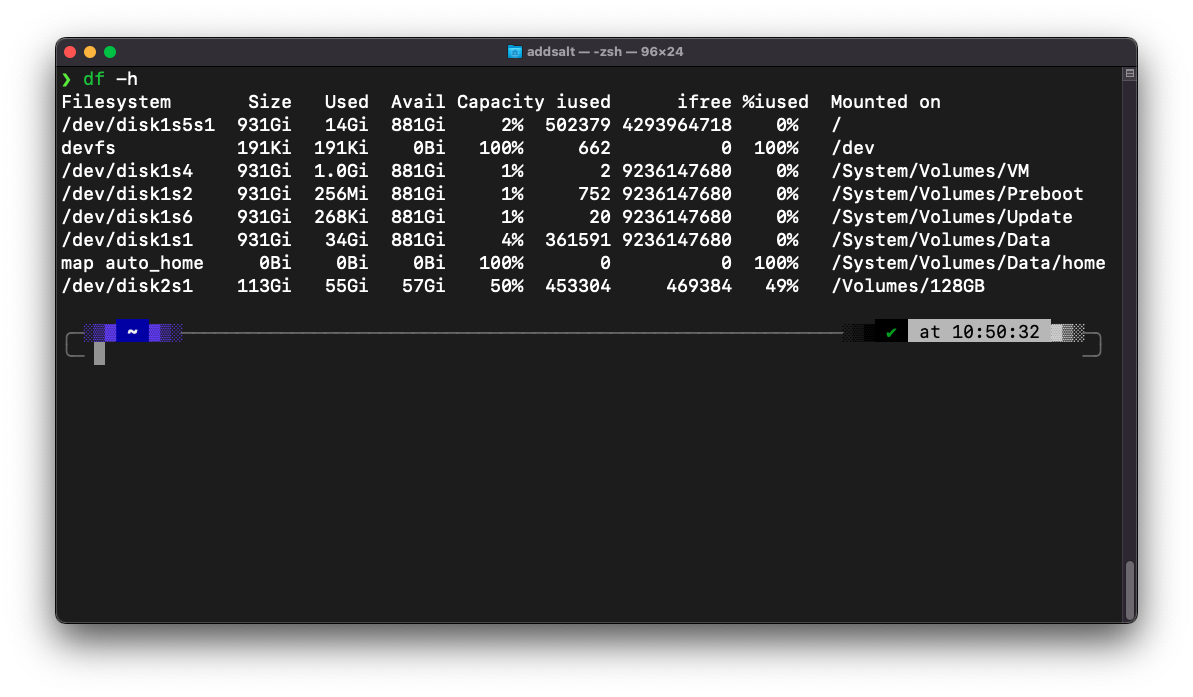
source ~/.zshrc。powerlevel10k 的部分,會走一段設定流程,下圖是我自己設定完所顯示的樣子,如果設定完,未來想要再更改,可以下
p10k configure這道指令,重新走一次設定流程。
在 MX Linux MX-23.2 的安裝過程
安裝 zsh、zplug、fzy 與 fzf。
1
sudo apt install zsh zplug fzy fzf
將系統預設的 bash 改為 zsh。
1
2
chsh -s /usr/bin/zsh <使用者名稱>
sudo reboot執行
vim .zshrc,並寫入以下內容。1
2
3
4
5
6
7
8
9
10
11
12
13
14
15
16
17
18
19
20
21
22
23
24
25
26
27
28
29
30
31
32
33
34
35
36
37
38
39
40
41source ~/.zplug/init.zsh
# History config
HISTSIZE=10000
SAVEHIST=10000
HISTFILE=~/.zsh_history
zplug "romkatv/powerlevel10k", as:theme, depth:1
zplug "zsh-users/zsh-history-substring-search"
zplug "Jxck/dotfiles", as:command, use:"bin/{histuniq,color}"
zplug "tcnksm/docker-alias", use:zshrc
zplug "k4rthik/git-cal", as:command, frozen:1
zplug "plugins/git", from:oh-my-zsh
zplug "modules/prompt", from:prezto
zplug --rollback=build
zplug "b4b4r07/enhancd", at:v1
zplug "mollifier/anyframe", at:4c23cb60
zplug "zsh-users/zsh-syntax-highlighting", defer:2
zplug "b4b4r07/79ee61f7c140c63d2786", \
from:gist, \
as:command, \
use:get_last_pane_path.sh
zplug "b4b4r07/hello_bitbucket", \
from:bitbucket, \
as:command, \
use:"*.sh"
zplug "b4b4r07/httpstat", \
as:command, \
use:'(*).sh', \
rename-to:'$1'
# Install plugins if there are plugins that have not been installed
if ! zplug check --verbose; then
printf "Install? [y/N]: "
if read -q; then
echo; zplug install
fi
fi
# Then, source plugins and add commands to $PATH
zplug load --verbose執行
source ~/.zshrc。powerlevel10k 的部分,會走一段設定流程,下圖是我自己設定完所顯示的樣子,如果設定完,未來想要再更改,可以下
p10k configure這道指令,重新走一次設定流程。